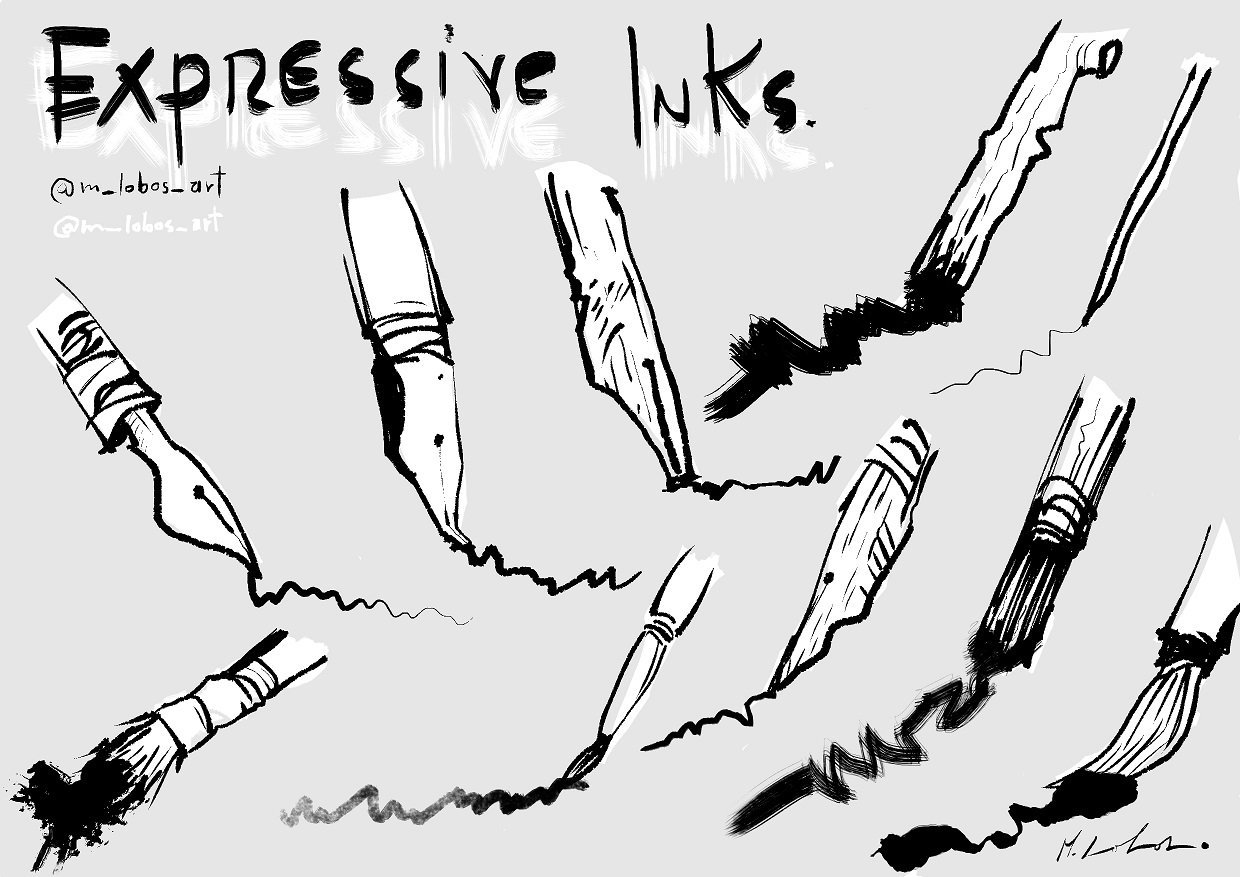
Getting a professional “comic book” finish in Krita isn’t about having the most expensive tablet; it’s about how you configure your Krita ink brushes to handle pressure and stabilization. In my years of digital illustration, I’ve found that most artists struggle with “jittery” lines because they rely on default settings that aren’t optimized for their specific hand movement.
Whether you are aiming for the crisp, technical look of manga or the organic flow of traditional ink on paper, the way you manipulate Krita’s brush engine determines the quality of your line art. I’ve tested dozens of brush presets and custom configurations to narrow down the most effective workflow for 2026.
Table of Contents
Selecting the Right Ink Engine for Your Style
Not all ink brushes in Krita are created equal. When I first started, I made the mistake of using a soft brush for line art, which resulted in blurry edges that were a nightmare to color. For professional line art, you need a brush with a hard edge and a defined pressure response.
The G-Pen Standard
For most of my work, I stick to the Ink_Gpen. It mimics the traditional manga pen, offering a sharp taper and high contrast. It is ideal for varying line weights—where the line is thick in the shadows and thin in the light areas. If you find the G-pen too “stiff,” try adjusting the brush tip opacity in the brush settings to create a more natural transition.
Technical Pens for Precision
When I’m working on architectural elements or mecha designs, I switch to the Ink_Technical brushes. These have a consistent width regardless of pressure. While this might seem limiting, it is essential for maintaining a clean, industrial look where line weight consistency is more important than artistic flourish.
Mastering Stabilization for Zero Jitter
The biggest complaint I hear from Krita users is that their lines feel “shaky.” This is rarely a hardware issue and almost always a configuration issue. Krita offers three levels of brush smoothing in the Tool Options docker, and knowing when to use each is critical.
| Stabilizer Mode | Best Use Case | Pro/Con |
|---|---|---|
| Basic | Quick sketching and roughing in shapes. | Fast response / Minimal jitter control. |
| Weighted | General line art and character inking. | Balanced feel / Slight input lag. |
| Stabilizer | Slow, sweeping curves and high-detail arcs. | Perfect lines / Significant “drag” feel. |
In my experience, Weighted is the sweet spot for 90% of inking. However, when I’m doing a final polish on a long, curved line (like a character’s jawline or a flowing cape), I switch to the Stabilizer and increase the “Delay” setting. This forces the brush to follow a trailing point, effectively erasing any micro-tremors in your hand.
Optimizing Pressure Curves for Natural Tapers
If you feel like you have to press too hard to get a thick line, or if your lines are too chunky, your pressure curve is wrong. I’ve seen many artists struggle with “heavy-handed” lines simply because they are using the linear default curve.
To fix this, go to Settings > Configure Krita > Tablet Settings. I recommend adjusting the curve to a slight “S” shape. By pulling the middle of the curve downward, you create a wider range of thin-to-medium lines, which makes your Krita ink brushes feel more responsive and less aggressive. This is particularly helpful when using a specialized brush engine that relies heavily on tablet pressure for size variation.
The Professional Inking Workflow
Clean line art isn’t just about the brush; it’s about the layer stack. I never ink directly on my sketch. Instead, I follow a strict layering protocol to ensure I can make changes without destroying my work.
- The Sketch Layer: Set to 20-30% opacity and usually colored in light blue or red.
- The Ink Layer: A fresh transparent layer on top. I always keep my ink on a separate layer to allow for easy cleanup.
- The Cleanup Pass: Instead of switching to the eraser tool, I use the ‘E’ shortcut. This toggles the current brush into “Eraser Mode,” meaning I can erase using the exact same shape and texture as my ink brush, which keeps the line ends looking consistent.
A common trap I’ve seen is artists trying to “perfect” a line by drawing over it ten times. Instead, I recommend drawing a long, confident stroke and then using the eraser to trim the overlapping ends. This maintains the energy of the line.
Post-Processing: Polishing Your Line Art
Even with the best stabilization, some lines might look too “digital” or sterile. To give your work a more professional, organic feel, I use two specific techniques.
Line Weight Correction
Once the inking is done, I go back in with a smaller version of the Krita ink brushes to thin out areas where the lines overlap or where the light source hits. This adds depth and prevents the art from looking flat.
The Subtle Blur Trick
If your lines look too sharp (almost aliased), I apply a very slight Gaussian Blur (around 0.5 to 1.0 pixels) to the ink layer, and then use a Levels Adjustment to tighten the blacks back up. This removes the “digital” jaggedness and mimics the way ink slightly bleeds into paper fibers.
Mastering line art in Krita is a journey of fine-tuning. By combining the right brush engine with a customized pressure curve and the correct stabilization mode, you can eliminate the technical frustrations and focus entirely on your art. Start with the G-pen, set your stabilizer to Weighted, and remember to use the ‘E’ toggle for the cleanest possible finishes.
Also Check: Krita Texture Brushes: 7 Amazing Secret Pro Tips 2026
2 thoughts on “Krita Ink Brushes: 5 Ultimate Proven Line Art 2026”