
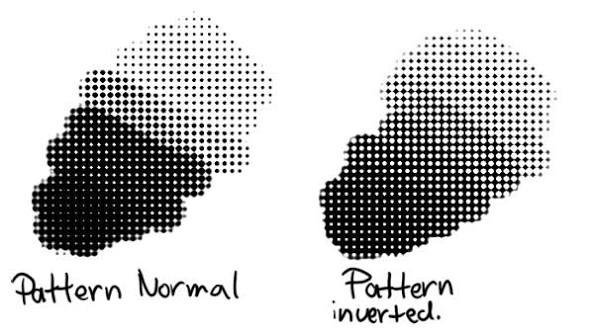
One of the biggest hurdles I faced when transitioning from traditional oils to digital painting was the “plastic” look. Everything felt too smooth, too perfect, and ultimately, lifeless. In my years of using Krita, I discovered that the secret to breaking that digital sterility isn’t just about how you paint, but how you manipulate Krita Texture Brushes to mimic the physical resistance of canvas and pigment.
Most artists simply pick a texture brush from the preset library and start painting. While that works for quick sketches, it often leads to repetitive patterns that scream “digital filter.” To get professional, gallery-ready depth in 2026, you need to move beyond the presets and start treating the texture engine as a dynamic tool.
Table of Contents
1. Mastering Texture Scaling and Rotation
A common trap I’ve seen is the “tiled” look, where the texture repeats in a visible grid across the canvas. This happens because the default scale is often too small for the piece’s resolution.
When I set up a landscape, I immediately dive into the Brush Settings (F5) and navigate to the Texture tab. Instead of leaving the scale at default, I manually adjust the scale to match the perceived distance of the object. For foreground elements, I use a larger scale to show grit; for backgrounds, I shrink it to create a subtle atmospheric haze.
Pro Tip: Always check the “Random” rotation setting if available in your brush engine. This prevents the eye from picking up on the same grain pattern repeating across your character’s skin or a stone wall.
2. Leveraging Blending Modes for Depth
Painting texture with the “Normal” blending mode often results in “muddy” colors because you’re simply layering a gray-scale texture over your hue. To avoid this, I treat texture brushes as lighting modifiers.
- Overlay/Soft Light: Use these for subtle skin pores or fabric weaves. It preserves the underlying color while adding tactile contrast.
- Multiply: Perfect for adding deep grit, rust, or dirt into the crevices of an object.
- Color Dodge: I use this sparingly with a high-texture brush to create “specular highlights” on rough surfaces, like the glint of light on a sandy beach.
3. The Dual-Brush Layering Technique
In my testing, the most realistic results come from a two-step process rather than a single brush stroke. I call this the “Base and Grain” method.
First, I use a soft, opaque brush to establish the primary form and value. Once the volume is set, I switch to a high-contrast Krita Texture Brush on a separate layer. Instead of painting the whole area, I “scumble” the texture only on the edges where the light hits the surface. This mimics how real-world light catches the peaks of a rough surface, leaving the shadows smooth and deep.
4. Non-Destructive Texture Masking
One mistake beginners make is painting textures directly into their base layers. If you decide the grain is too heavy, you’re forced to undo or repaint. I’ve shifted my entire workflow to use Krita’s masking system.
I create a Fill Layer with a texture pattern and then apply a Transparency Mask. By painting on the mask with a soft brush, I can “reveal” the texture only where it’s needed. This allows me to change the texture image or the blending mode globally without losing any of my hand-painted detail.
5. Creating Custom Textures from Photos
The built-in textures are great, but for hyper-realism, you need custom source material. I often take photos of concrete, old paper, or rusted metal to create my own brush tips.
The Pipeline:
- Import a high-res photo of a surface.
- Convert it to Grayscale.
- Use Levels to push the contrast deep blacks and bright whites provide the most “bite” in the brush engine.
- Save as a .png and import it into the Krita Texture library.
This ensures your artwork has a unique tactile signature that can’t be replicated by using standard software presets.
6. Mapping Pressure to Texture Opacity
Static textures look like stamps. To make them feel organic, you must link the texture’s intensity to your pen pressure. In the Brush Settings, I go to the Texture tab and look for the Opacity or Scale sliders.
By enabling pressure sensitivity for the texture opacity, I can glide the pen lightly to create a smooth surface and press harder to “dig” the texture into the paint. This is essential for painting things like weathered wood or chipped paint, where the texture isn’t uniform across the entire surface.
7. Smudge Texture Blending
Most people use the “Blender” or “Smudge” tool for smooth gradients. However, if you apply a texture brush to the smudge engine, you can actually “push” the paint around like a palette knife on a real canvas.
When I’m finishing a piece, I use a textured blender to pull a highlight color into a shadow area. This creates those beautiful, jagged edges and “broken” color transitions that characterize impressionist paintings. It removes the “digital airbrush” feel and replaces it with a raw, painterly energy.
Quick Reference: Texture Strategy Matrix
| Goal | Recommended Mode | Key Setting | Suggested Technique |
|---|---|---|---|
| Skin/Fabric | Soft Light | Small Scale | Masking |
| Rock/Metal | Overlay/Multiply | High Contrast | Dual-Brush Layering |
| Atmosphere | Normal (Low Opacity) | Large Scale | Pressure Mapping |
| Impasto Look | Blender Engine | Custom Photo Texture | Smudge Blending |
Refining Your Artistic Voice
Texture in digital art isn’t about adding “noise” to a picture; it’s about communicating the physical nature of the object you’re painting. Whether you’re aiming for the grit of a cyberpunk city or the softness of a fantasy landscape, the key is intentionality. Stop relying on the brush to do the work and start manipulating the texture engine to serve your composition.
Experiment with these seven tips, but remember: the most effective texture is often the one the viewer feels rather than the one they consciously see. Keep your textures subtle, vary your scales, and always paint with a purpose.
Also Check: Krita Brush Settings: 9 Super Easy Pro Tweaks 2026
2 thoughts on “Krita Texture Brushes: 7 Amazing Secret Pro Tips 2026”